


GOLF
A Course For Every Skill Level
A course for every skill level! Whether you’re a novice or a professional golfer, you cannot miss playing a few rounds at Mount Pleasant’s coastal courses!
discover adventure
Memories are only a few clicks away. Explore all Mount Pleasant has to offer below.
Snee Farm Country Club
 1200 Club Drive, Mount Pleasant, SC, USA
Snee Farm Country Club is located in the heart of Mount Pleasant, SC on the beautiful, 200 year-old Snee Farm Plantation. The private club is home to a George Cobb designed championship golf course, a newly renovated clubhouse, a full service restaurant and bar, a fitness room, 18 tennis courts and two newly renovated swimming pools.
Learn More
Charleston National Golf
1360 National Drive, Mount Pleasant, SC, USA
Charleston National is a Rees Jones designed championship golf course, open to the public, year round. Rated by Golf Digest as the best non-resort golf course in the Charleston area, it truly is Charleston's "hidden gem.
Learn More
Bulls Bay Golf Club
995 Bulls Bay Blvd, Awendaw, SC, USA
Amid windswept savannahs and centuries-old live oaks lies a course that entwines the ultimate in atmosphere and course design. In the tradition of MacKenzie, Mike Strantz created an extraordinary layout that thrills each and every round.
Learn More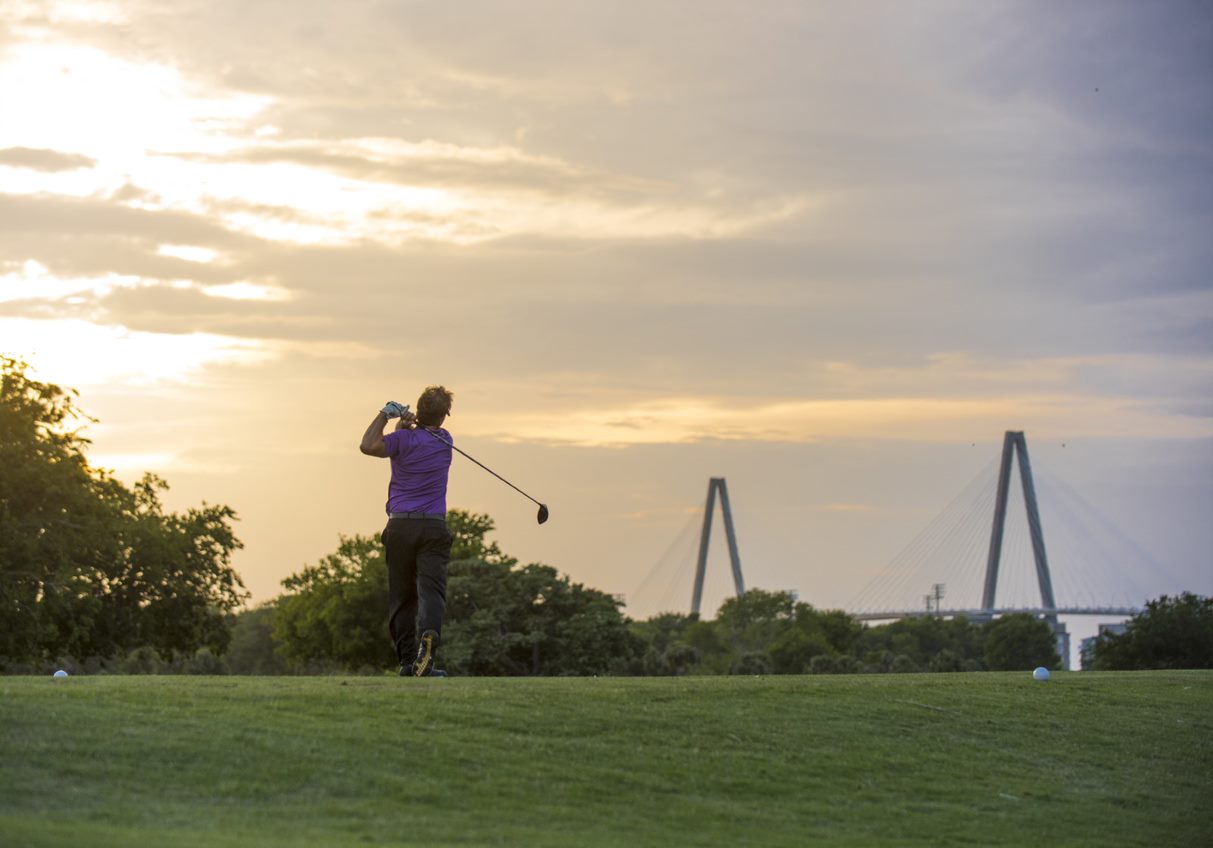
Patriots Point Links
196 Patriots Point Rd, Mount Pleasant, SC, USA
Situated on the edge of Charleston Harbor and offering spectacular views of the city, Fort Sumter, and ships arriving from all over the world, Patriots Point has been a favorite place to play for local Charleston golfers and resort guests for years.
Learn More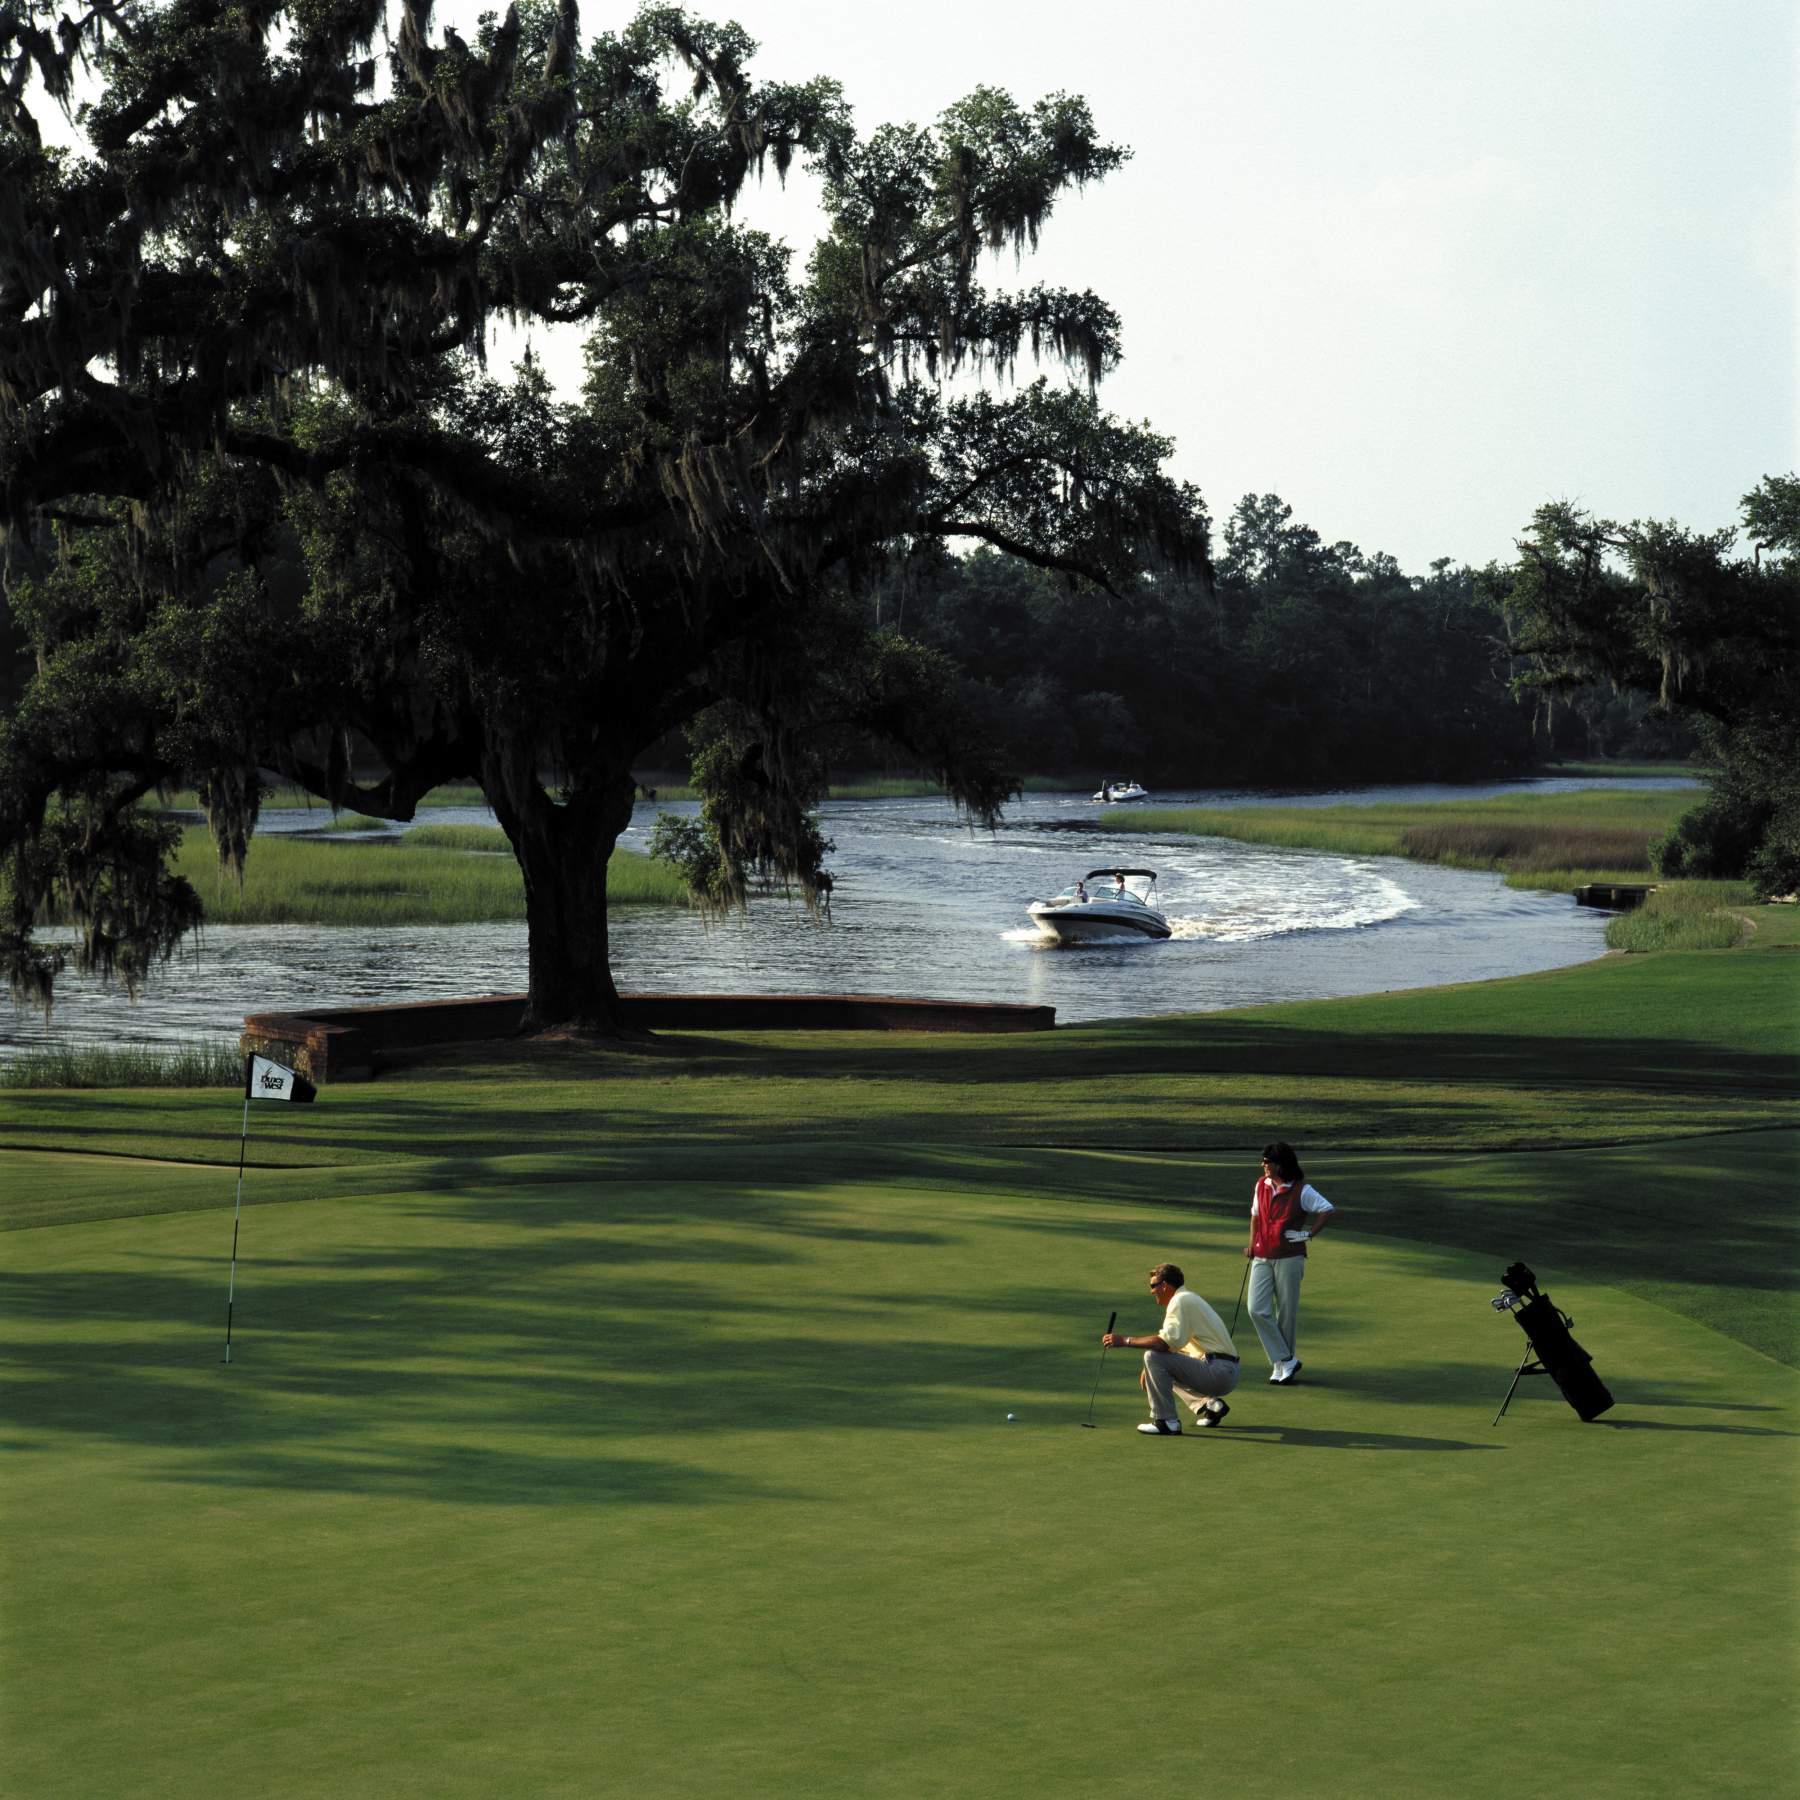
Dunes West Golf Club
3535 Wando Plantation Way, Mount Pleasant, SC, USA
A player-friendly yet challenging 18-hole Championship course designed by Arthur Hills meanders alongside picturesque live oaks and marshes along the banks of Wagner Creek in South Carolina’s lowcountry. Repeatedly recognized as a world-class golf experience, Dunes West has been named among the Top Ten Resort Courses and America’s Fifty Best Courses. The meticulously maintained course is complemented by a 6000 square foot clubhouse with full service dining overlooking Wagner Creek and a full array of country club amenities including swim and tennis.
Learn More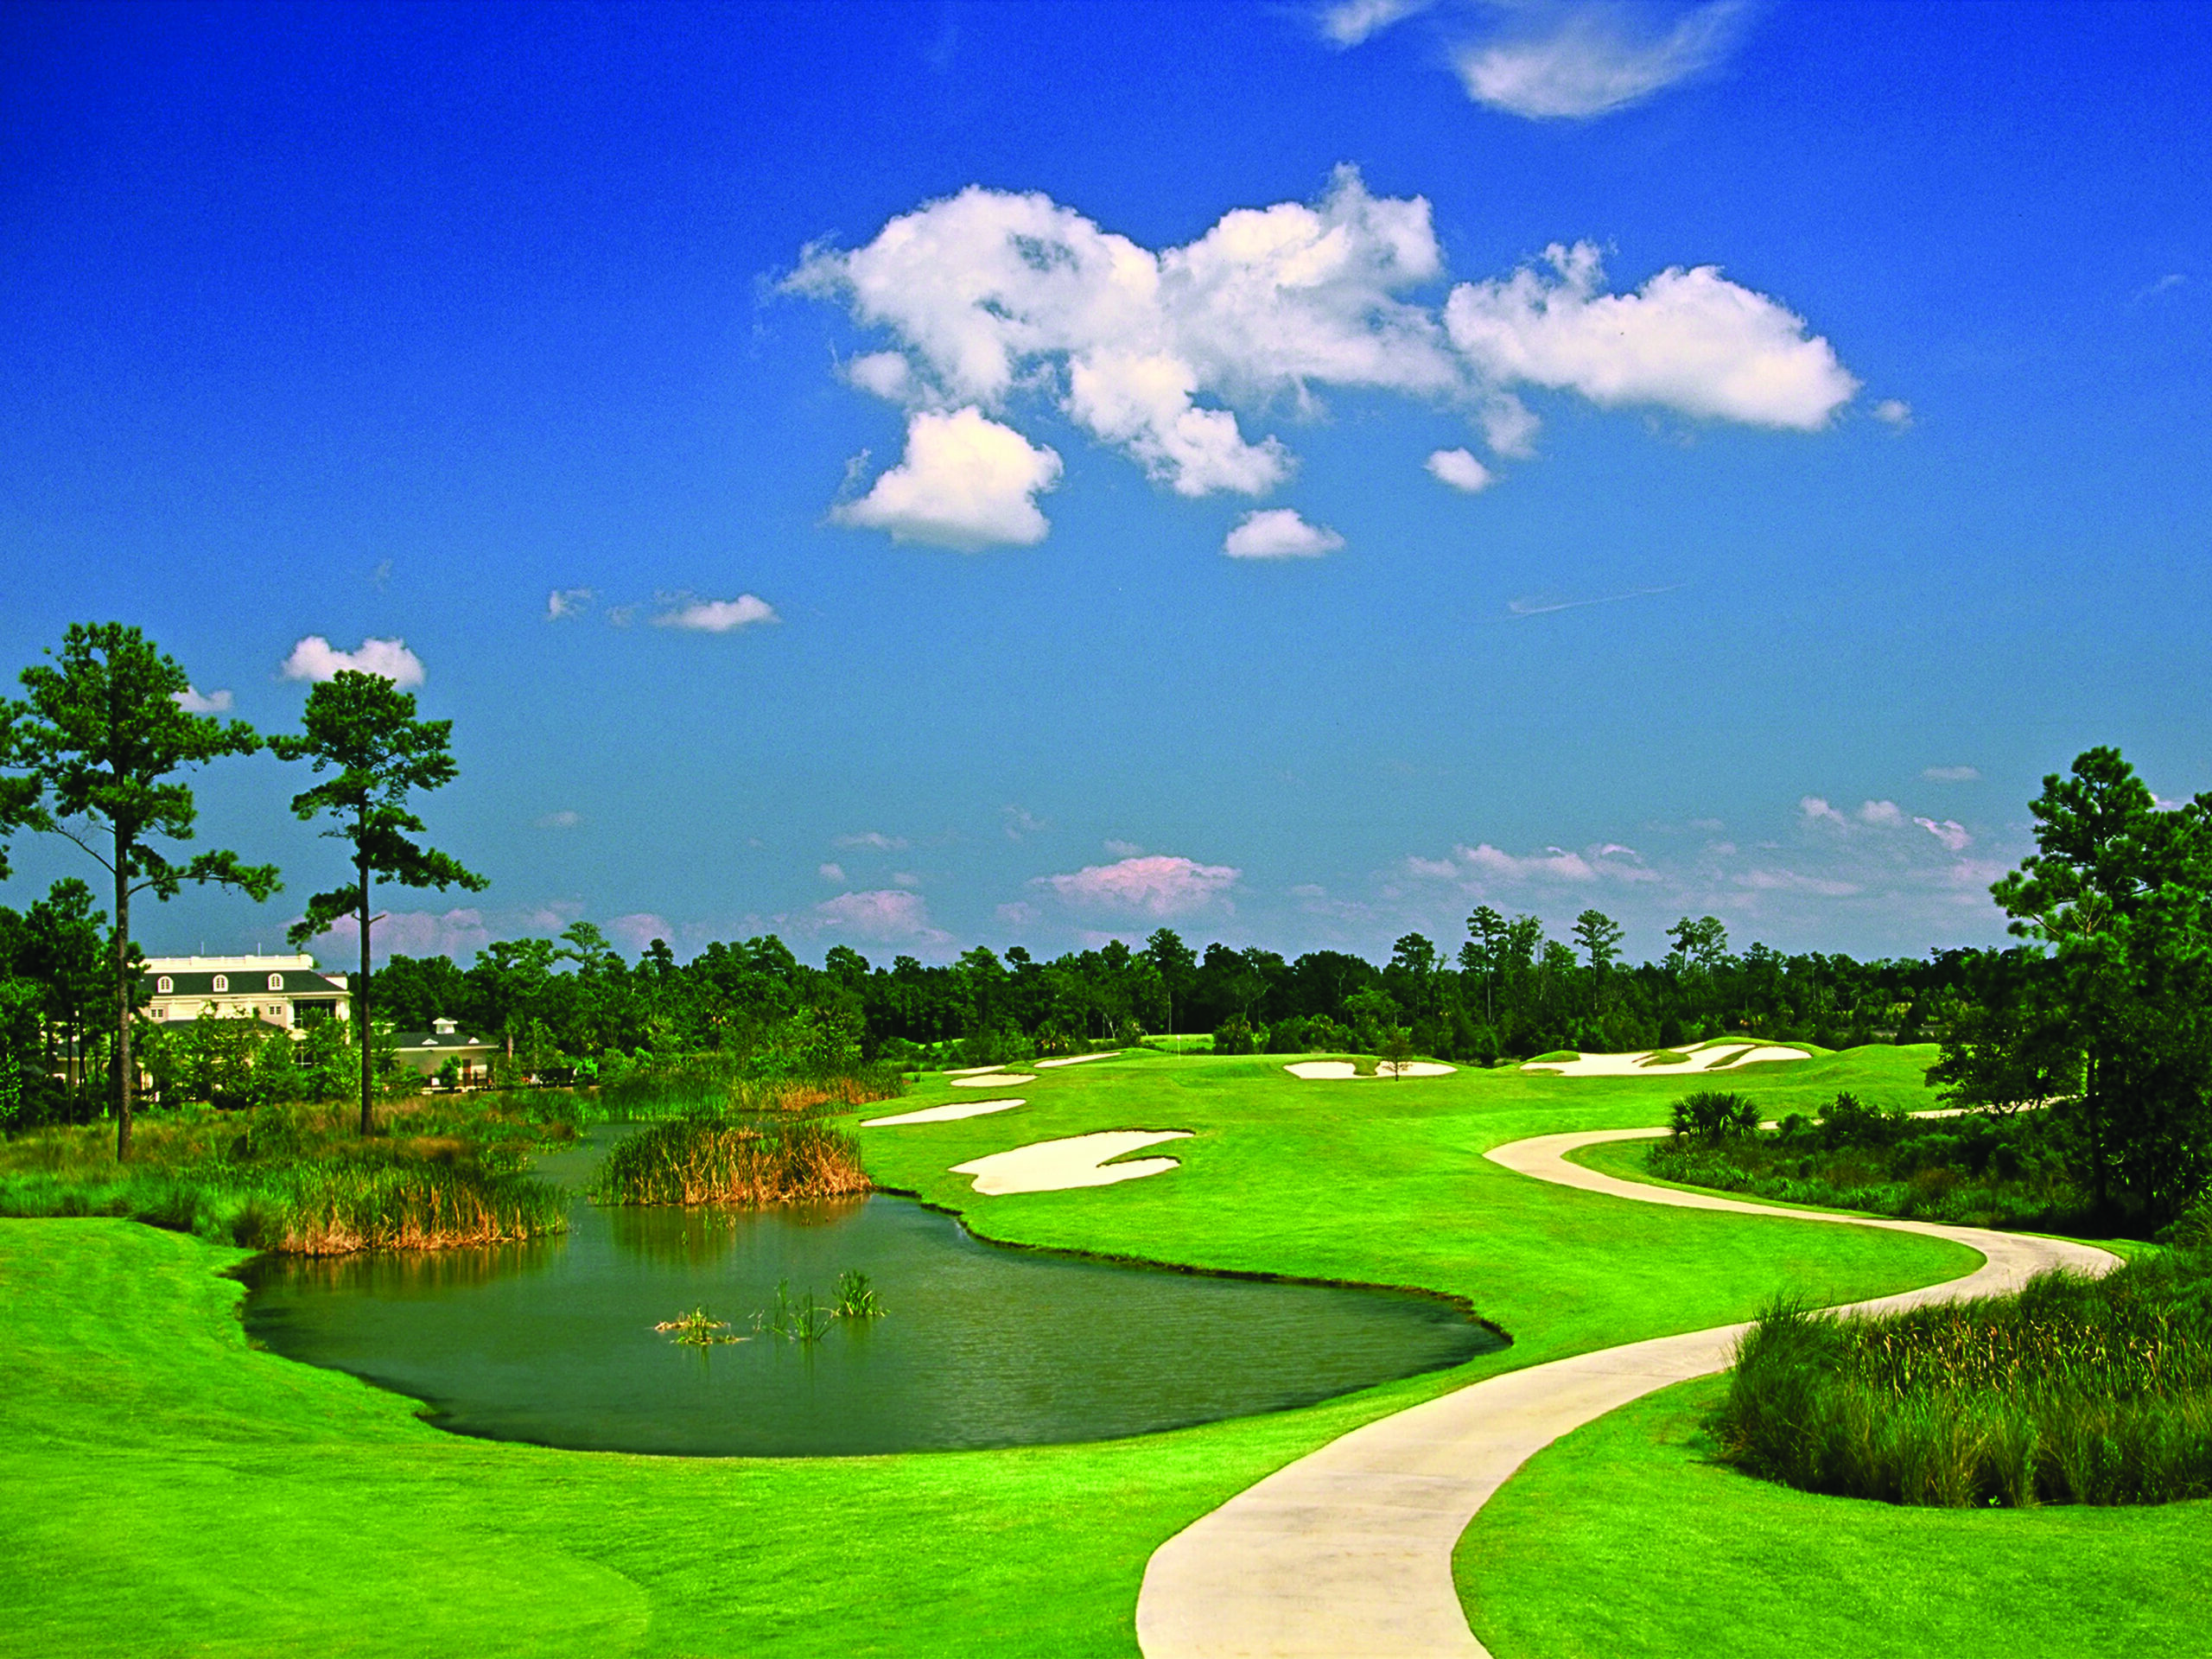
Rivertowne Country Club
1700 Rivertowne Country Club Drive, Mount Pleasant, SC, USA
RiverTowne Country Club, located off of Highway 41 in beautiful Mount Pleasant, is home to Charleston’s only Arnold Palmer Signature golf course. Situated among scenic marshlands with 13 holes along the Wando River and Horlbeck Creek, this 18-hole championship course features exceptional year-round playing conditions, tree-lined fairways and multi-tiered greens guarded by bunkers and water. It’s a true shot-maker’s course befitting seasoned golfers yet approachable enough for public play.
Learn More